Showing posts with label Chocolate. Show all posts

18 January 2012

Of Champorado

Hmmm...champorado. It's definitely the one dish that just makes me feel all warm and fuzzy inside. What is it? Filipino chocolate rice. Ok, ok...technically, it comes from Mexico, brought to the Philippines by galleon trade. In case you were wondering what the galleon trade is, it's trade route between Acapulco, Mexico and Manila, Philippines back when both countries were Spanish colonies. People back then traded spices, silk, porcelain, and, most importantly, recipes. 
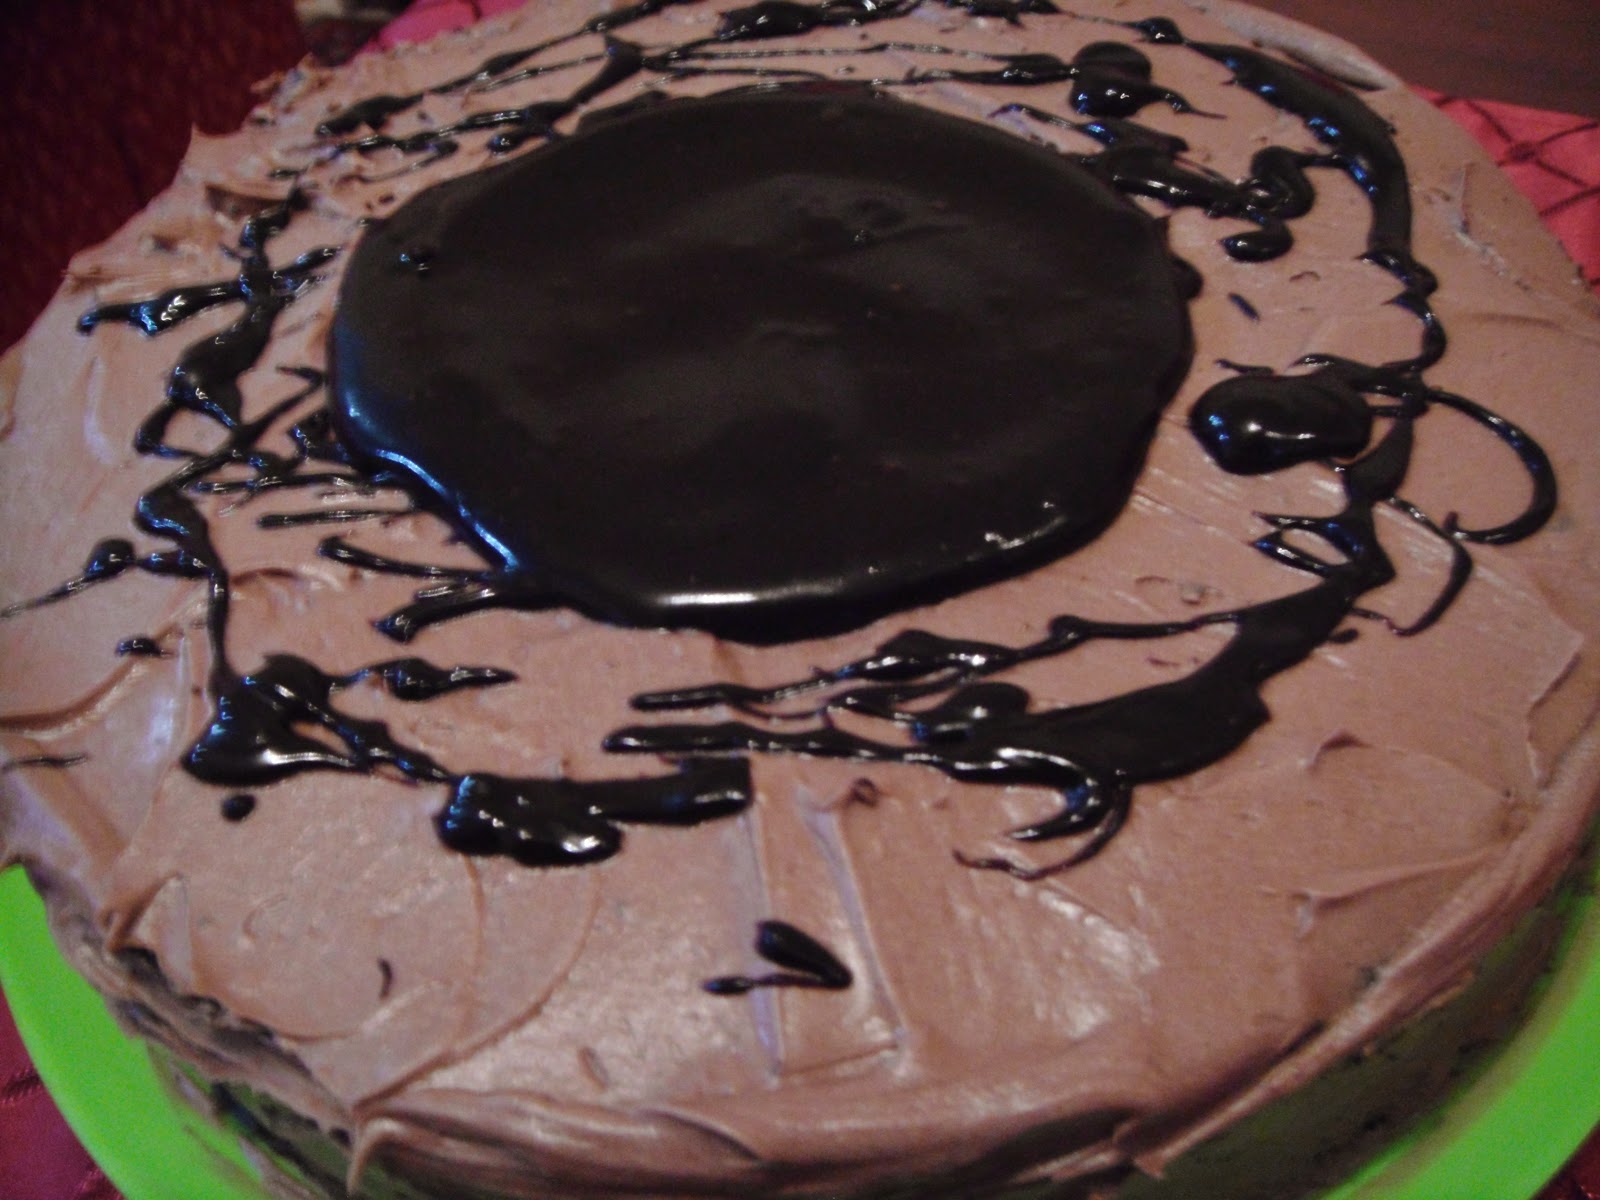
Yummy Champorado

Make no mistake though, that Mexican champurrado is very different from Filipino champorado (also spelled as tsamporado, since the Tagalog language doesn't actually have the leter 'c' in it). Mexican champurrado, according to Wikipedia, is actually Mexican hot chocolate. Filipino tsamporado, on the other hand, is warm, chocolatey rice porridge. Traditionally, it's cooked with glutinous rice (short grained, sticky rice) but you can also use left over white rice (that's what I used). It gets its chocolate flavor from Filipino chocolate tablets or tablea, which has a more intense chocolate flavor since it is made from pure cacao nibs which were roasted and grounded into a paste and hardened into tablets. The chocolately rice is then sweetened with brown sugar, preferably muscovado and served with a dash of evaporated milk. 
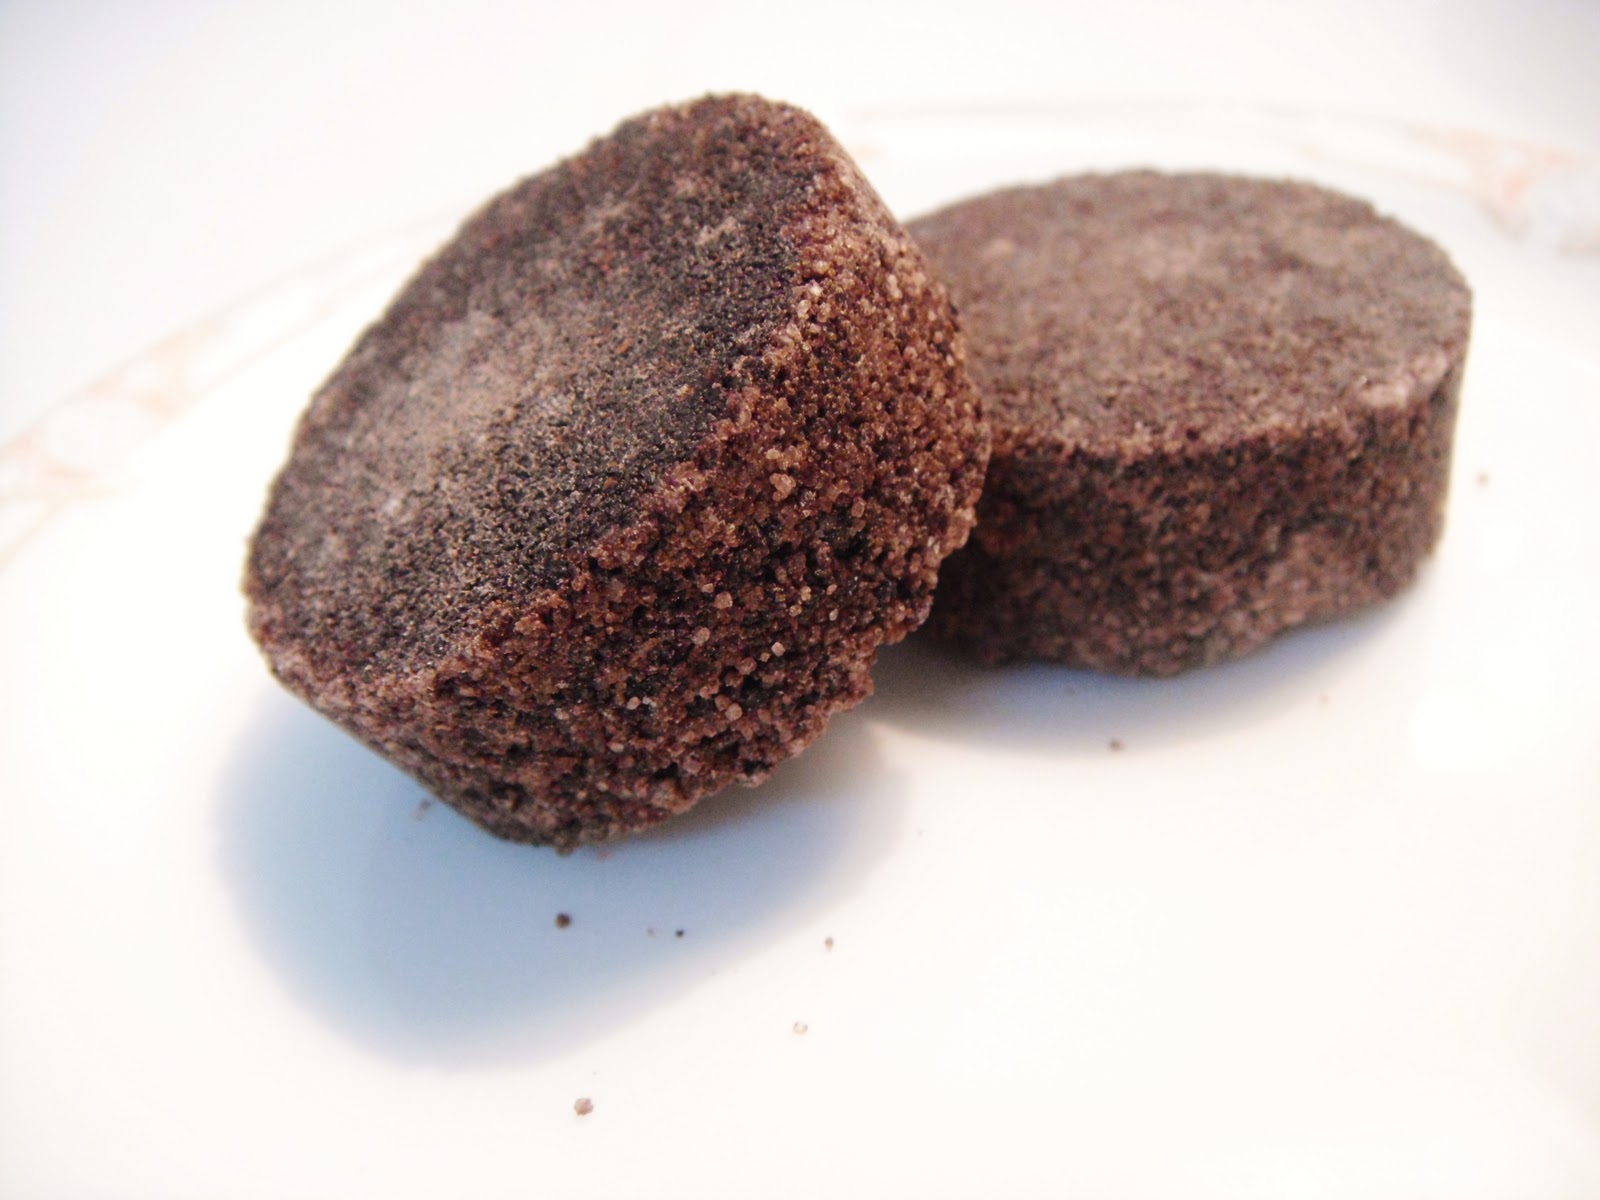
Tablea

Tsamporado is perfect for cold weather or whenever you're down. Chocolate can wash any the blues, right? Champorado can also be eaten for breakfast. If you plan on doing this, don't forget the tuyo! That's salty dried fish. You can also (and I love doing this) refrigerate it until it's cold and eat it like chocolate rice pudding. Yum!


Champorado
2 cups left over white rice
5 cups plus more if needed, water
3 tablepoon muscovado sugar
2 tableas
evaporated milk to serve

In a dutch oven or a large pot, add the rice and 4 cups water. Place the pot over medium heat and bring to a boil, stirring occasionally. Once boiling, add the tableas. Stir until the tableas have broken down and combined with the rice and water mixture. Cook until the rice and the water mixture have formed a thick soup that is slightly smooth. If there's too little water, add more as needed. Stir in the sugar. Pour into bowls and drizzle evaporated milk on the top.


Note:
  • If you plan on using glutinous rice, use more water. I suggest a 1:5 rice-water ratio. 
  • You can also use cocoa powder instead of tablea. It'll have a slightly different flavor, but it'll still be good. Beware though, if you use dark chocolate powder, you will have an extremely dark champorado, and not the traditional lighter brown color. I know, coz I've tried this.


17 January 2012

Of Cocoa Brownie


My mom had always insisted that using cocoa was better for making brownies than my usual melted chocolate. When my mom insists on something, you follow. So I looked up a brownie recipe that used cocoa powder instead of chocolate. I found this recipe from Smitten Kitchen. I tweaked it a little by using muscovado sugar instead of white sugar and reducing the amount to one cup only instead of 1 1/4 cups. The result? A more adult and less sugary brownie. It still retained its fudginess, but its chocolate flavor seemed to intensify.


Cocoa Brownie
10 tablespoons butter
1 cup muscovado sugar
3/4 cup plus 2 tablespoons unsweetened cocoa powder
1/4 teaspoon salt
1 teaspoon vanilla extract
2 large eggs, cold
1/2 cup all purpose flour
2/3 cup nuts, like pecans or walnut or cashews (optional, I didn't put any)

Preheat the oven to 325F or 160C. In a heat-proof bowl, add the butter, sugar, cocoa powder and vanilla extract. Place the bowl over a pot of barely simmering water. Stir until the butter has melted and the mixture is hot enough such that you instinctively remove your finger after testing it (I thought that was a funny way of putting it, but yes, it's in the recipe). 

Remove from the heat and set aside to cool a bit. The mixture should be warm and not hot. Stir in the vanilla extract. Add the eggs one at a time, stirring vigorously after each addition. Once it's well-blended, shift in the flour. Stir until well-blended. At this point, you can add the nuts if you want. Stir again, if you do. 

Finally, pour the batter into a prepared 8x8 inch pan. Make sure to use parchment paper or foil as this will help in removing the brownies from the pan. Bake in the oven for 20-25 minutes. Once done, let the brownie cool completely before cutting. I suggest refrigerating for about an hour first before cutting. Finally cut into tiny squares and serve!


06 January 2012

Of the Triple Chocolate Cake


 I'll admit it. After making the basic chocolate cake awhile back, my family's been craving for another round of chocolate cake, and what better time to have chocolate cake than Christmas? For this cake, I used the same recipe I used for the basic chocolate cake, but with the addition of chocolate ganache and chocolate frosting.

I sandwiched chocolate ganache between two layers of dark chocolate cake. Then, spread some of the chocolate frosting and drizzled even more ganache on top. Let me tell you, there was no leftover. The kids who were at the party just gobbled it up. The cake was moist and practically oozed chocolate. It was definitely the star of the dessert table.
Ready for the party!

Chocolate Ganache
9 oz Bittersweet Chocolate, chopped
1 cup Heavy cream

In a double boiler (or a makeshift one), bring the cream to a boil. Add the chocolate. Whisk until the chocolate has melted and the resulting ganache is smooth and shiny. (You can add a tablespoon of rum too if you want, but I decided not to)

Chocolate Frosting
(I used a variation of the vanilla frosting I used in my previous cake)
4 tablespoons butter
2 cups icing or confectioner's sugar
2 tablespoons milk
1/2 teaspoon vanilla extract
1 pinch f salt
4 tablespoons chocolate ganache

Beat everything together until light and fluffy.
The last slice is for the cook!

17 December 2011

Of Basic Chocolate Cakes

One of my dad's friends just had a new baby, so my family trooped over to their place to see him. As a "baby-warming" gift, my mom decided that she wanted to give them chocolate cake. A strange choice since the baby can't have cake. Oh well, the mommy does love chocolate cake. Of course, I volunteered to make it. I wanted to try a new recipe, but my mom insisted on me using a recipe she had already tried, and whatever mom says goes. So, I had me a cake recipe, but I didn't have a recipe for frosting. With only a limited amount of butter and only cocoa powder on hand, I knew that I definitely wouldn't be doing a ganache. I did eventually found a perfectly chocolately frosting with the help of ehow.com and some simple experimentation.


Dark Chocolate Cake
1 cup milk
1 tablespoon vinegar
1 3/4 cup all purpose flour
2 cups granulated sugar
3/4 unsweetened cocoa powder
1 teaspoon baking powder
2 teaspoons baking soda
1/2 teaspoon salt
2 eggs
1/2 cup vegetable oil
1 cup brewed coffee (I actually used 3 teaspoons instant coffee and a cup of water), cold
1 teaspoon vanilla extract

The first step is to preheat the oven to 350F or 175C. Then mix the milk with the vinegar and set aside. In a bowl, sift together the all purpose flour, sugar, cocoa powder, baking powder, baking soda and salt. Whisk gently to mix. In a larger bowl, whisk together the eggs,  vegetable oil, coffee and vanilla extract. Add the milk and vinegar solution. Slowly add the dry ingredients. Mix until just incorporated. Finally, pour into two prepared 8-inch cake tins. Bake for 30 minutes. The cake will be springy when touched and an inserted toothpick will come out clean.

This chocolate cake was adapted from an allrecipes.com recipe.


Cocoa Powder Frosting
1/4 cup butter
1/2 cup unsweetened cocoa powder
1/4 cup milk
2 cups confectioner's sugar
1 teaspoon vanilla extract

Melt the butter. Then add the cocoa powder. Stir. Add the milk and stir until combined. Gradually add the confectioner's sugar. Finally, add the vanilla extract. If you want the frosting to be a bit more liquidy, add more.

Make sure that your cake has cooled completely before frosting it. After frosting the cake, remember to refrigerate it for at least 30 minutes or until the frosting has set a little. Now since this recipe yields two 8-inch cakes, you can either layer the cake one on top of the other with some of the frosting in between or just frost two different cakes. We went with the latter choice since two is better than one!