Grilling is one of my favorite methods of cooking. There
always seems to be a ritual that accompanies it, especially when we don’t use
the electric grill. One of the things that I love best about it is that the
food is usually so good that it practically signals you to eat with your hands,
the polite way, of course. Yes, there’s a polite way and a barbarian way of
eating with your hands. It depends on which country you’re in, of course, but
the general rule is not to stuff your face and not to play with your food.
Another thing I love about grilling is that the food tastes really simple, at
least most of the time. It’s usually not smothered in sauce and its natural
flavors just seem more enhanced.
 |
| All the grilled things |
The grilling process is pretty straight forward. I guess the
hardest bit would be lighting the charcoal (if you’re using a charcoal grill).
In the US, I’ve usually used charcoal that’s been pre-soaked in lighter fluid.
When I told my mom about this, she gasped and said there was no way something
so flammable would enter her house. And, they are quite combustible. Whenever I
light one of these up I immediately feel like a little pyromaniac. The only
thing I would add to this is that you should the charcoal burn a bit first
before putting anything on the grill. If you don’t, your dish is going to taste
like kerosene, and trust me, that does not taste good. In the Philippines,
though, my family does it differently. The charcoals we use are not soaked in
lighter fluid, so we usually hold one piece over the stove fire. Once a little
flame has started on that piece, we add it to the pile of charcoal on the
grill. Then the hard part begins. We have to fan the flame until most of the
charcoal pieces have caught fire. On the plus side, your food won’t taste like
kerosene. On the downside, your arm will feel like it’s falling off.
 |
| The trick to any great seafood dish is fresh fish. You can tell if the fish is fresh by looking at how clear its eyes are. Also, it shouldn't smell fishy. It should smell like the sea. |
Here are some examples of what we love to grill. Fish is my
mom’s absolute favorite. The fish here is locally called samaral. It’s a good grilling fish. You can grill all kinds of fish
and even shellfish, but it’s important to remember that not all fish will taste
their best when grilled. There are some fish that are just more appropriate for
other uses. Oh, don’t forget to season your fish very well when grilling. Rub
the salt all over the fish. If you’re cooking a large fish, don’t forget to do
the insides too. Unseasoned fish tastes bleh…unless it was still alive 15
minutes before you placed it on the grill. Also, try not to turn your fish too
often. You’ll know when one side is cooked if the fish’s skin does not stick to
the grill. Do not force it to turnover or your fish will fall apart.
 |
| Don't forget to rub salt inside the cavity! |
Grilled eggplant is another favorite. It’s easy to tell if
it’s cook too. Basically, it’s cooked if it’s soft and its skin practically
falls from it. If you’ve got the bigger and fatter variety, you may want to
slice it thinly and then rub some extra virgin olive oil on it first. You may
also want to season it. If you’re using the smaller ones, like these, all you
need to do is throw it on the grill. My two favorite grilled eggplant dishes
are Tortang Talong and Eggplant
Salsa. You can access the tortang talong recipe here. Here's the recipe for Eggplant salsa:
Eggplant Salsa
1 (or 2) grilled eggplant, peeled and mashed, with the head removed
1 small red onion, diced
3 cloves of garlic, chopped
1 tomato, diced
3 tablespoons vinegar (preferably coconut vinegar, but any other type except balsamic vinegar would do)
salt and pepper to taste
In a bowl, combine the eggplant, onion, garlic and tomato. Add the vinegar and season to taste. Mix well, then serve.
 |
| Once the eggplant is cooked, its skin will peel away easily. |
I honestly did not know you could grill bananas. It was my
mom’s idea, and boy, was it a good one. You have to use saba bananas, of course, mostly because it’s the cooking banana.
The banana formed a nice little crust once it was done, so there was a slightly
crispy layer with a soft inside. The banana retained its natural sweetness. It
may seem right to add sugar to it, but I wouldn’t suggest it. The banana was
great by itself.
 |
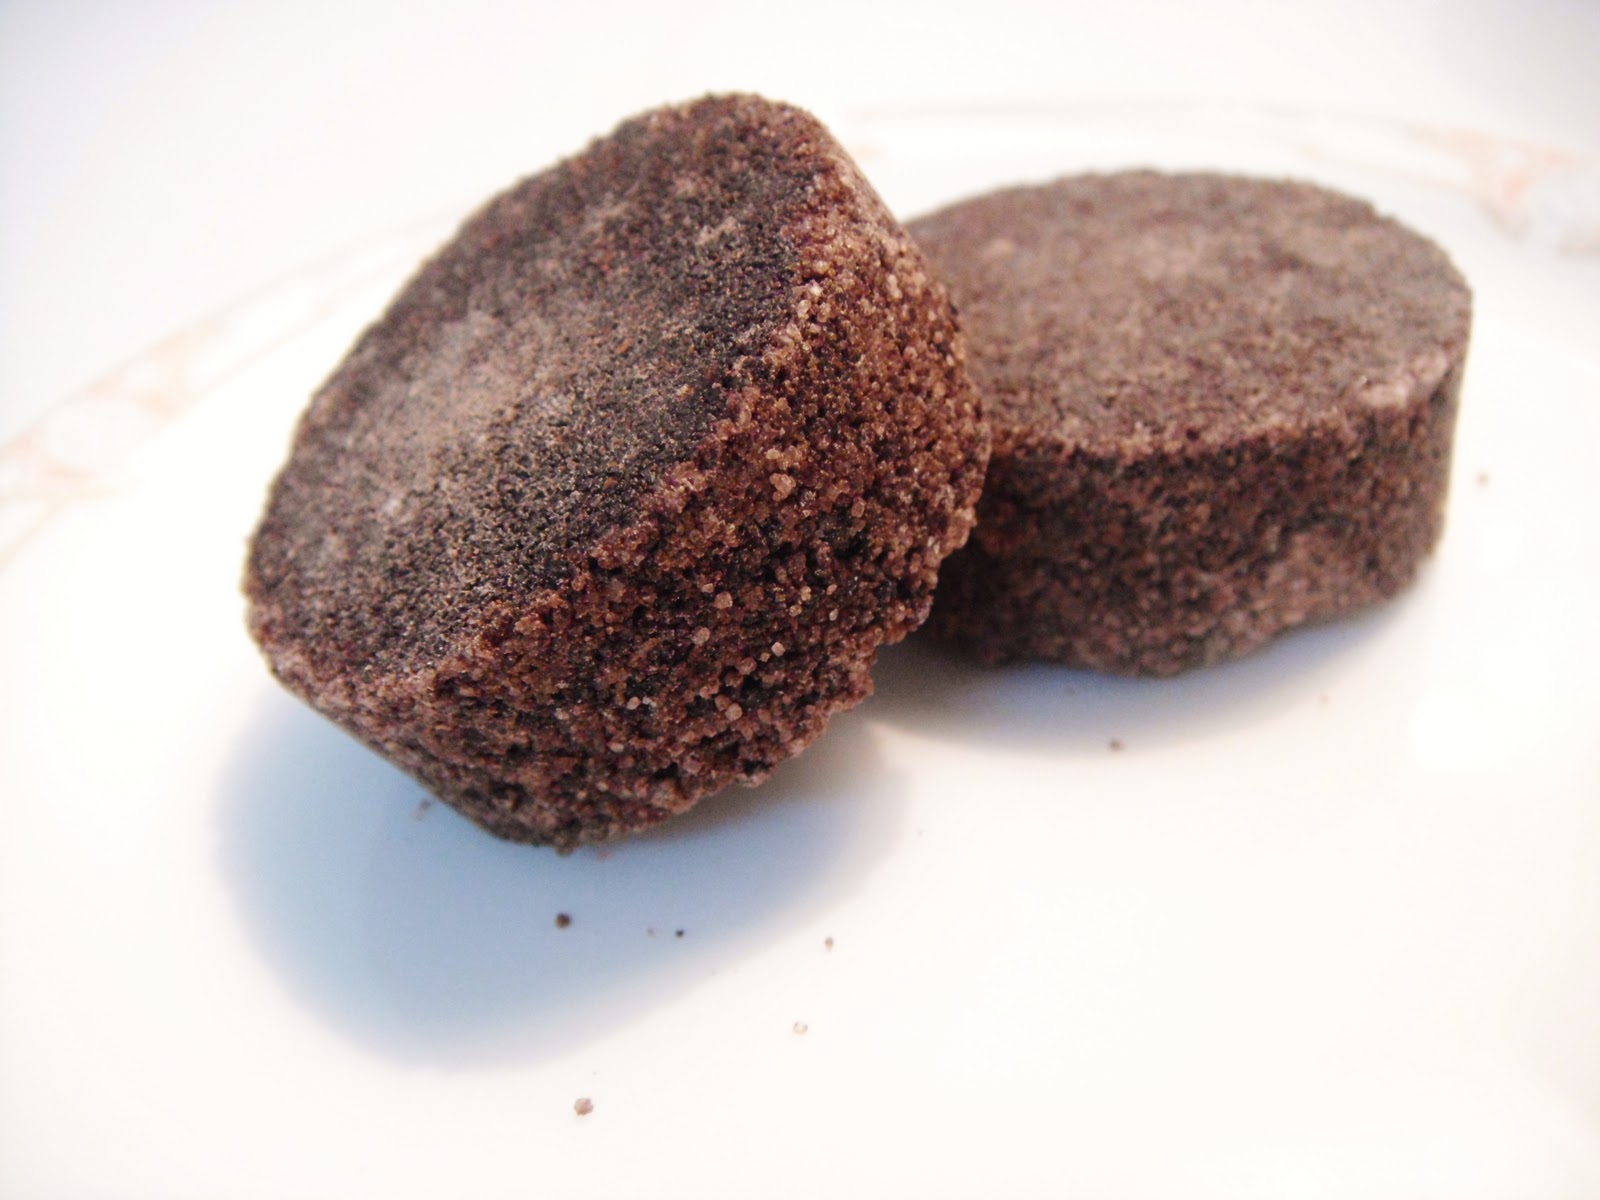
| Grilling bananas |
 |
| Forming a nice crust on the bananas |